

Importing Test Cases
1
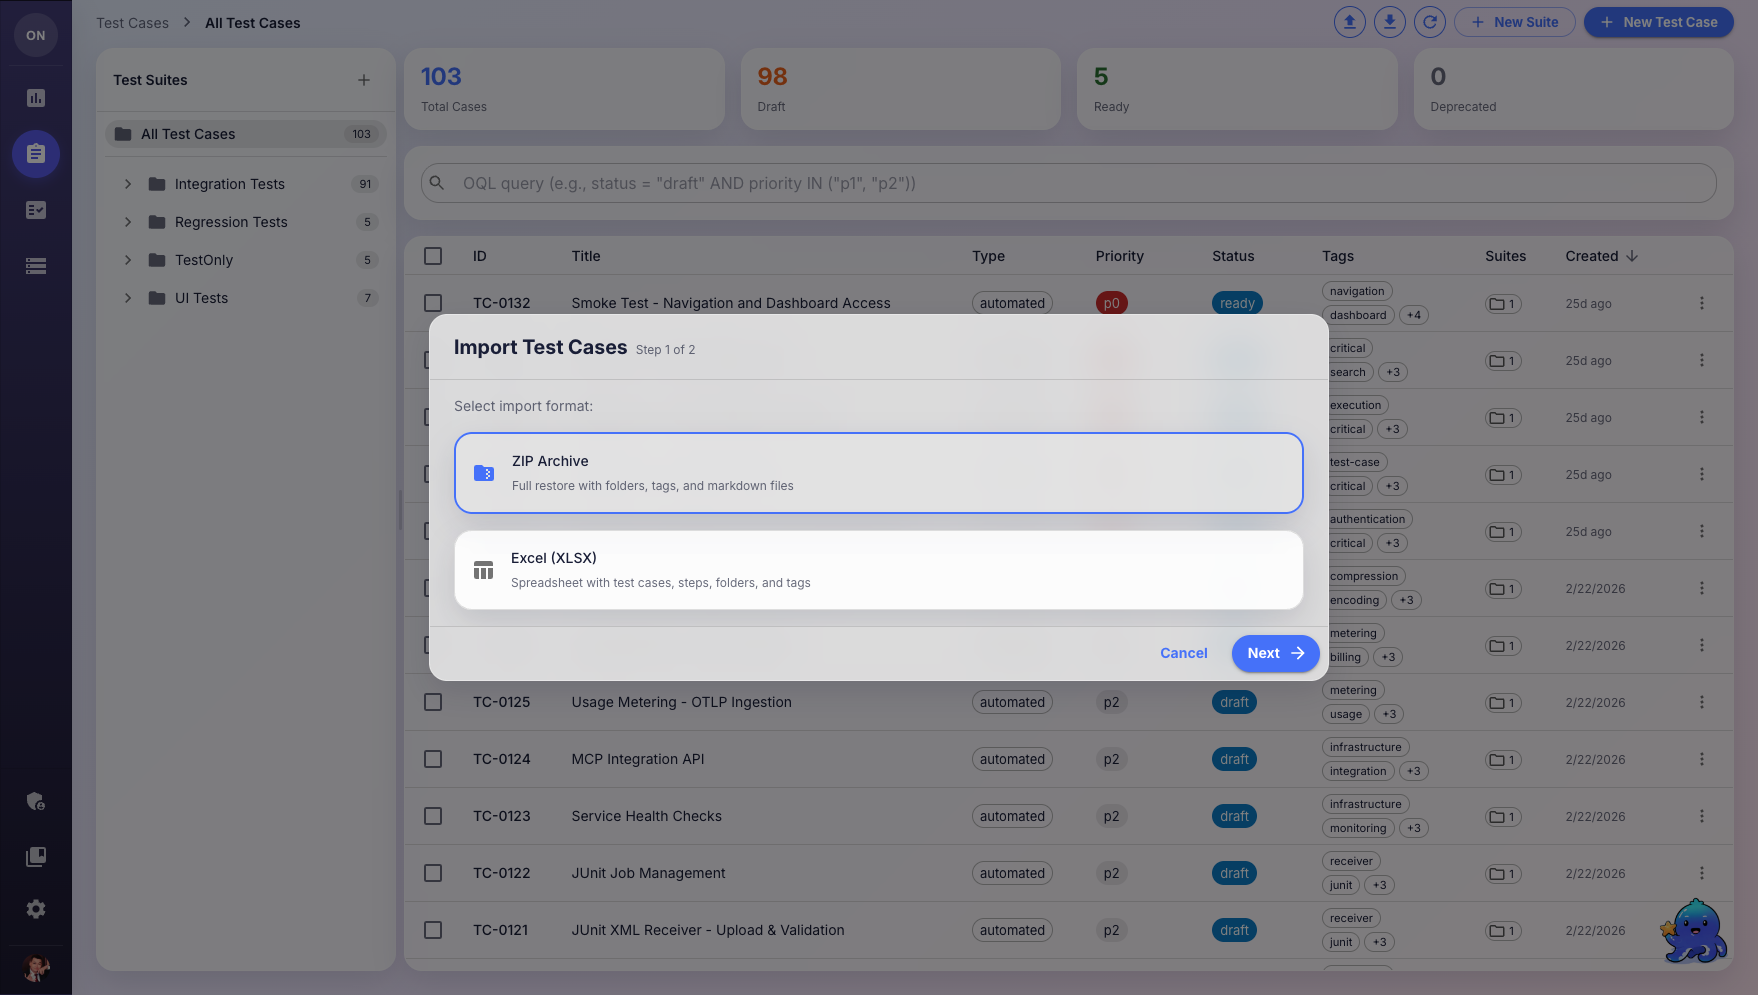
Open Import Dialog
Click the Import button (upload icon) in the Test Cases toolbar, or go to Pipelines > Import Test Cases for bulk imports.
2
Select Format
Choose your import format:
- ZIP Archive — Full restore with folders, tags, and markdown files
- Excel (XLSX) — Spreadsheet with test cases, steps, folders, and tags
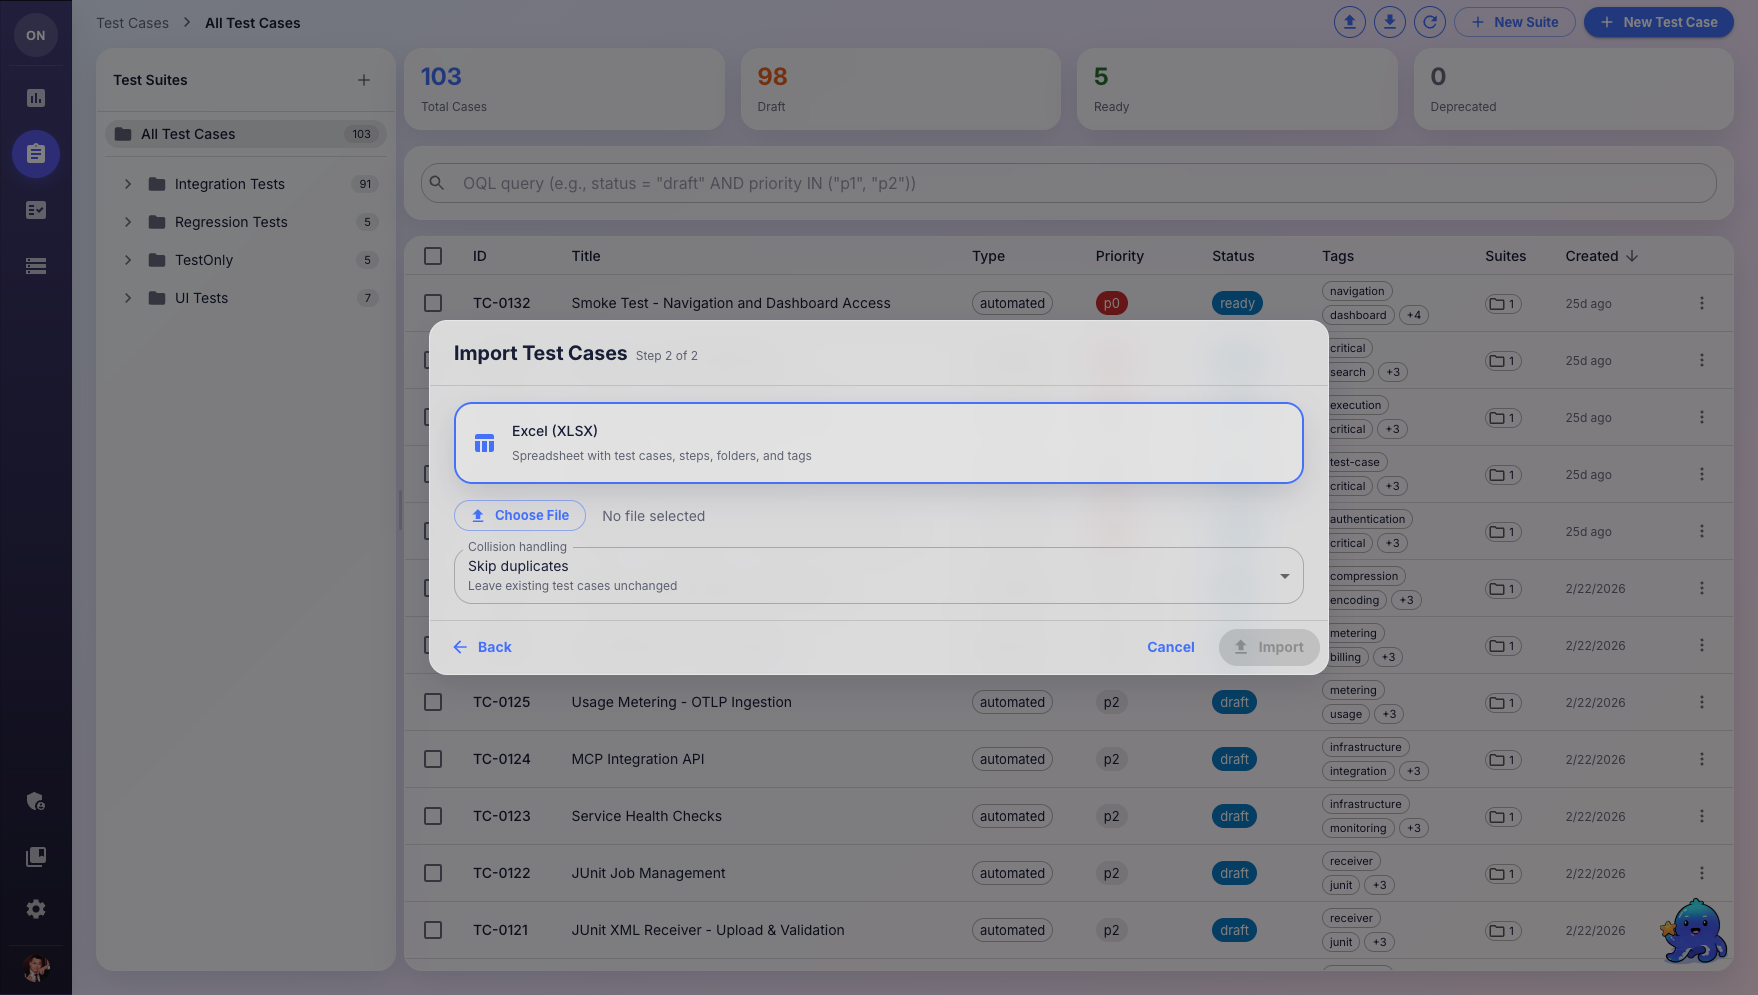
3
Upload File
Click Choose File or drag and drop your file into the upload area.
4
Configure Collision Handling
Choose how to handle duplicate test cases:
5
Start Import
Click Import to begin. You’ll see a summary of imported test cases when complete.
For large or complex imports with hundreds of test cases, use Pipelines instead. Pipelines provide AI-powered field mapping, decision gates, and multi-phase progress tracking.
Exporting Test Cases
Click the Export button (download icon) in the Test Cases toolbar.Export Formats
Export Scopes
- All test cases — Export everything in the current product
- OQL-filtered results — Export only test cases matching your current query (e.g.,
priority = p1 AND status = ready) - Selected tests — Export only test cases you’ve checked in the table
- Unassigned tests — Export test cases not assigned to any folder
Preparing Import Files
Excel (XLSX) Format
Excel (XLSX) Format
Your Excel file should contain these sheets:
- Test Cases — One row per test case with columns: Title, Description, Priority, Type, Status, Category, Tags
- Steps (optional) — Test steps with columns: Test Case Title, Step Number, Action, Expected Result
- Folders (optional) — Folder hierarchy with columns: Name, Parent Folder
- Tags (optional) — Tag definitions with columns: Name, Color
ZIP Archive Format
ZIP Archive Format
ZIP archives should contain:
- Markdown (
.md) files for each test case - A
folders.jsonfile defining the folder structure - A
tags.jsonfile defining tags
What’s Next?
Pipelines
Use AI-powered pipelines for complex bulk imports
Test Management
Organize and manage your imported test cases